Re-Installing Warranty Information Reporting
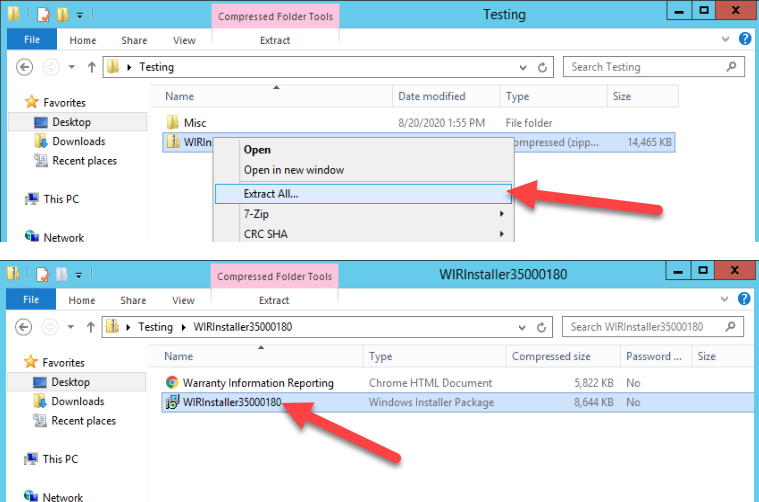
Unzip and extract the setup file. Once the setup file is extracted, double-click on it and run the file. Basically, this process is very similar to the steps you would have taken when you first setup Enhansoft’s Warranty Information Reporting. Unlike the initial setup, however, a few screens in, you are asked to uninstall the previous version of Warranty Information Reporting.
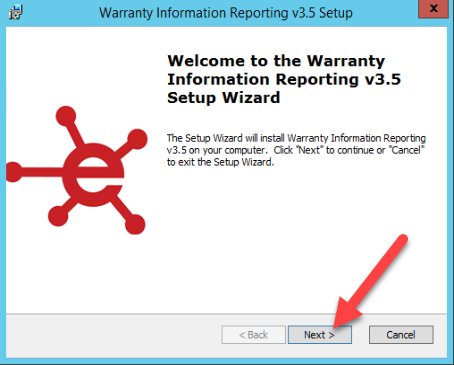
On the welcome page of the Setup Wizard, click Next to start the installation process.

Review the End-User License Agreement. After selecting the I accept the terms in the License Agreement option, click Next.
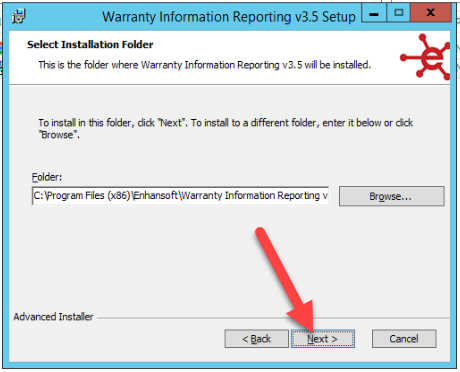
Choose an installation location (the default location is recommended) and then click Next.
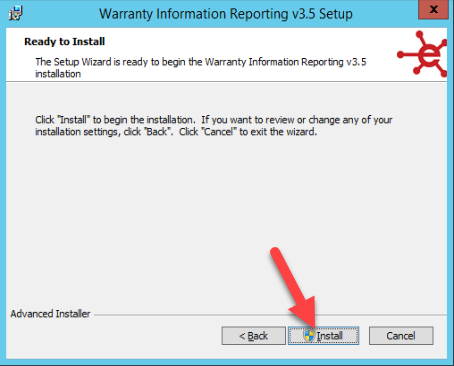
From here, click on the Install button to start the installation process.
The Setup Wizard checks to see if there are any previous versions of Warranty Information Reporting installed on the computer.
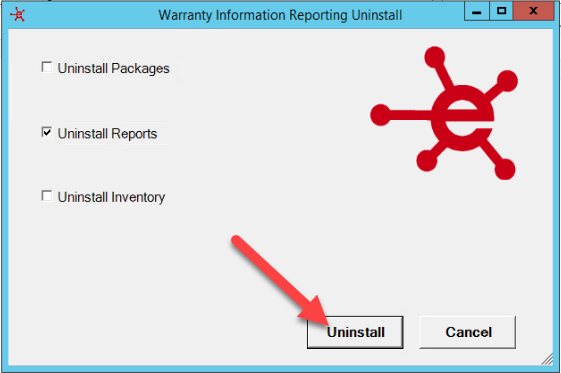
If a previous version of Warranty Information Reporting is detected, the Setup Wizard will recommend uninstalling only the reports. Accept the recommendation and click on the Uninstall button. Clicking on the Uninstall button removes the previous version of Warranty Information Reporting from your reporting points.

The uninstall process takes a few minutes to complete. When it is completed, you will receive a confirmation. Click OK.
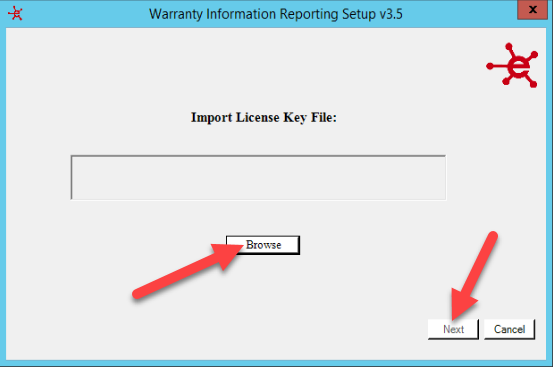
Browse for your license key and then click Next to continue.
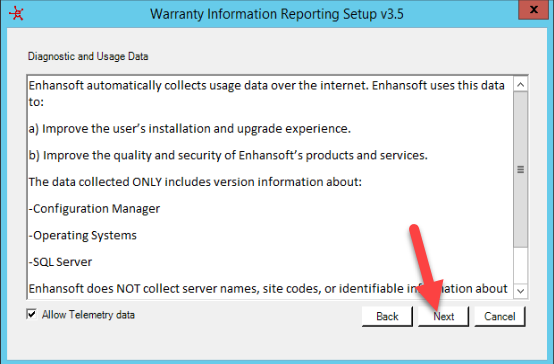
Click Next on the Diagnostic and Usage Data window.
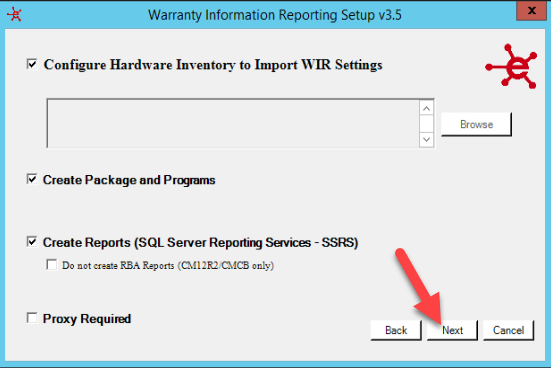
Previously selected settings should be pre-populated for you. Click Next to continue.
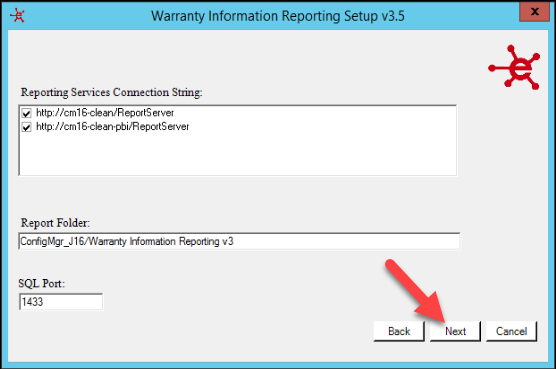
Here you can confirm the Reporting Services Connection String(s), Report Folder and SQL Port information. Click Next.
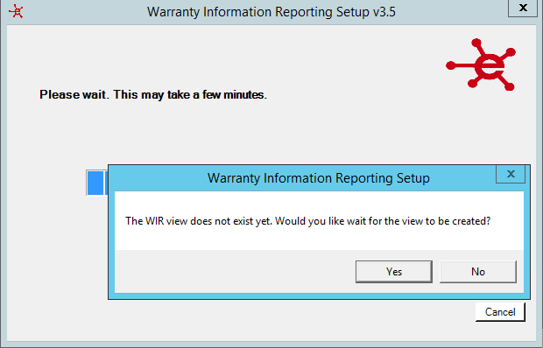
Once you see this popup message asking if you’d like to wait for the view to be created, click on Yes. Depending on how busy your primary server, or even more so, your CAS server is during the install, it may take a few attempts before the view exists on your SQL server. When the files are processed and the view is created, you are automatically forwarded to the next screen.
If you click on No, the setup will still continue and not wait for the view to be created.
Note: All Power BI report sets are automatically installed regardless of which categories and reports are selected.
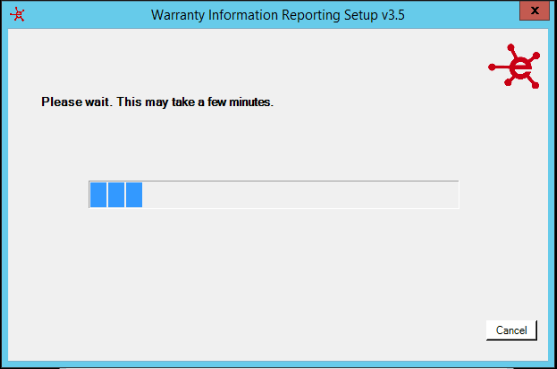
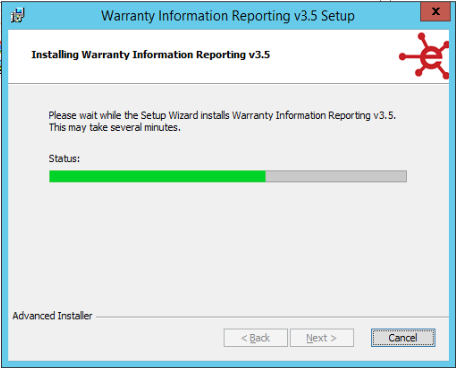
Wait for the installation to complete.
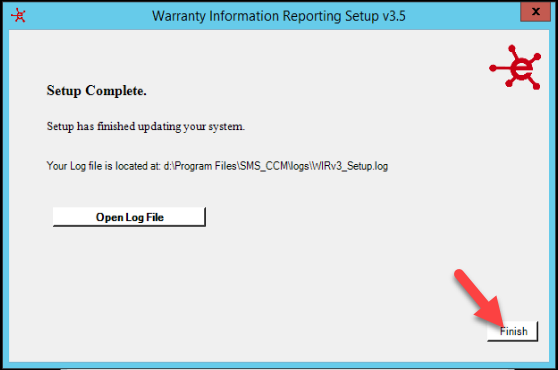
Once the installation process is successful, you will see a similar-looking confirmation page as the one above. If you need more information about the installation, you can review the log file simply by clicking on the Open Log File button. Otherwise, click Finish to close.
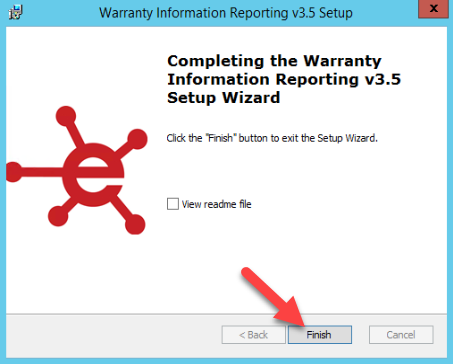
Finally, click Finish on the Setup Wizard page in order to complete the setup.